Showing posts with label Children. Show all posts

Monday, 25 October 2010

Making a Jam Jar Treasure Hunt


As it's half term, I thought I'd do a blog on creating a Treasure Hunt in a Jam Jar. It's very easy to do, generating 40 odd minutes of fun in the making, and when you're done you have a game to play over and over again. Other ideas (including more educational treasure) at the end of the blog.

You need a large storage jar and lots of cheap rice. Depending on the age or clumsiness or naughtiness of your kids, you may want to make the jar plastic
Add rice to the jar and don't forget to run it through your fingers for the tickle
Leave a gap at the top, so that when you lay the jar down you have a large, rice landscape to discover your treasure in
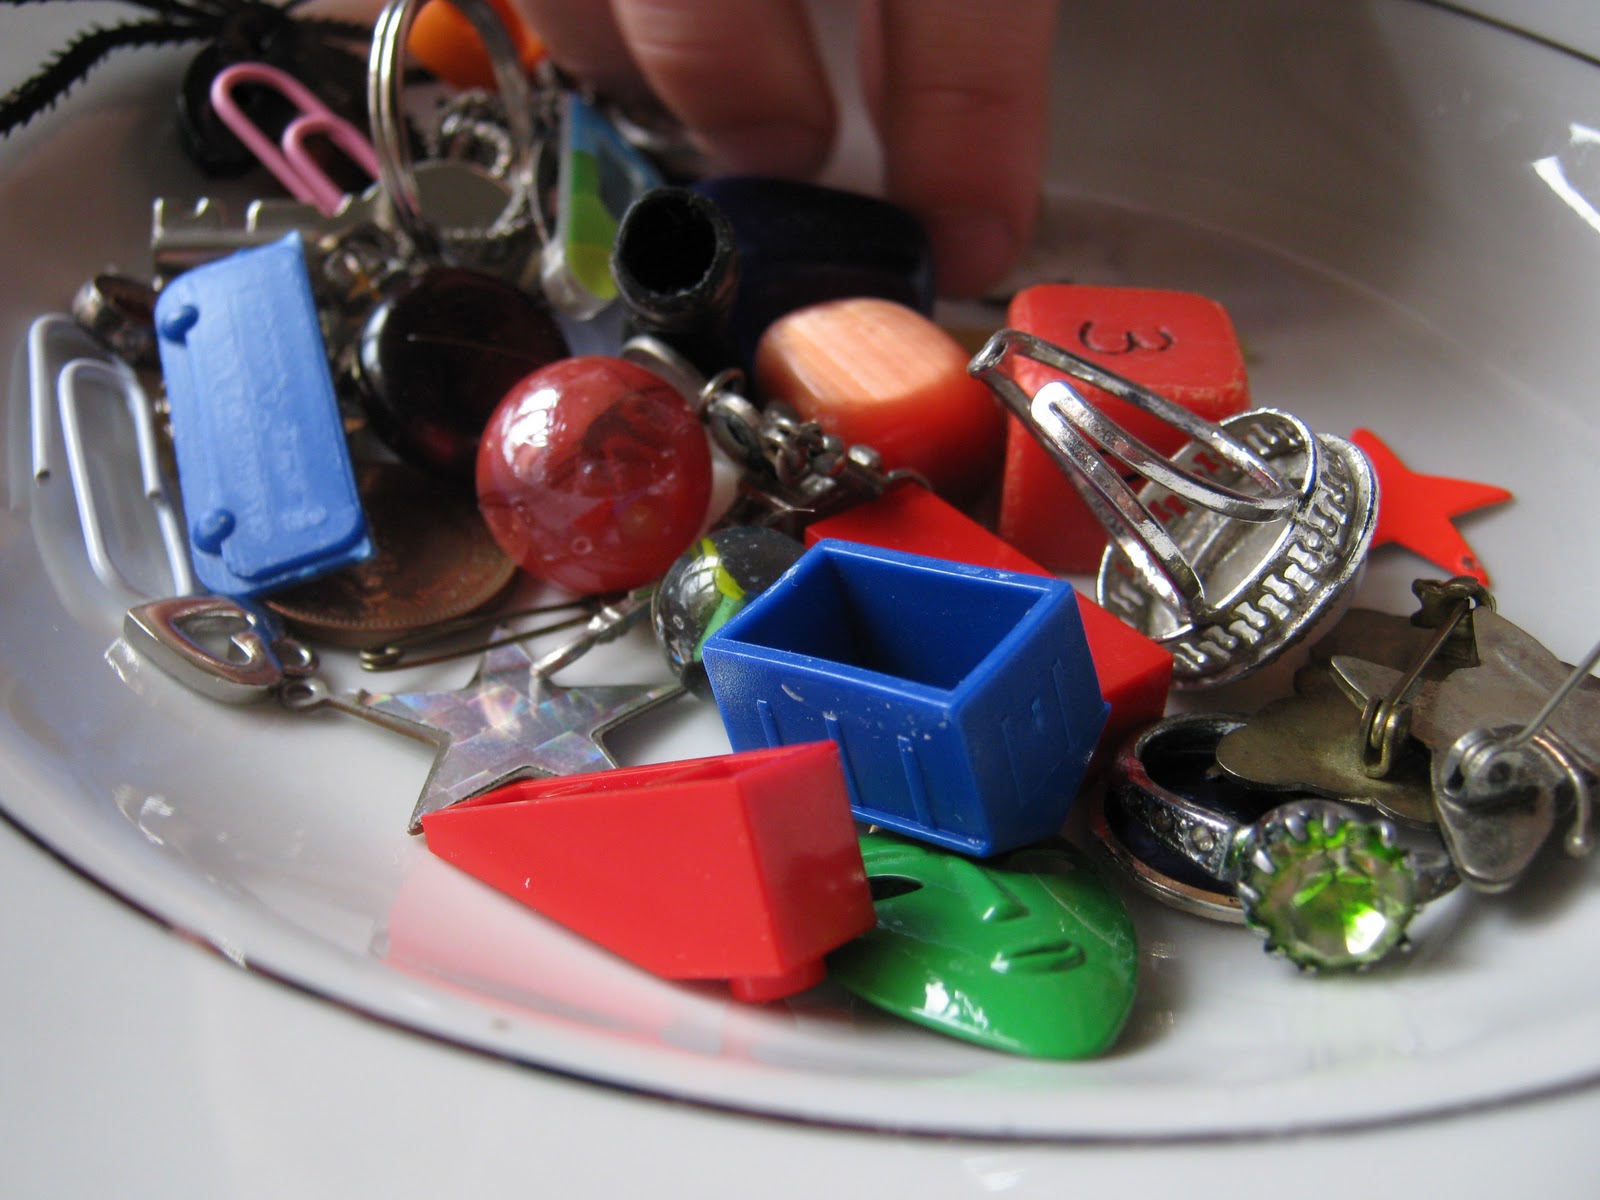
Set off in all directions finding items that are about the size of a penny, and pile them up in a bowl. My box of  broken jewellery was thoroughly raided. At this point the grown-up involved can enjoy a cup of tea.
Give a plate to each child, and ask them to select the best ten-or-so items each. Aim for variety, and a few very tiny treasures that will be very hard to find. Grown-ups should add some traditional stuff too like paper clips, buttons, beads, thimbles and a black peppercorn, so your finished jar looks suitably middle class
Here's the items we decided would be our treasure, I think there are about 30 of them. Taking a photo like this is a good idea, so you know what you are hunting for, though we opted for writing the items down too.
Pick and item and drop it in the jar, creating a list in best-handwriting as you go
Where there's fun, there's education, when you are a sneaky parent
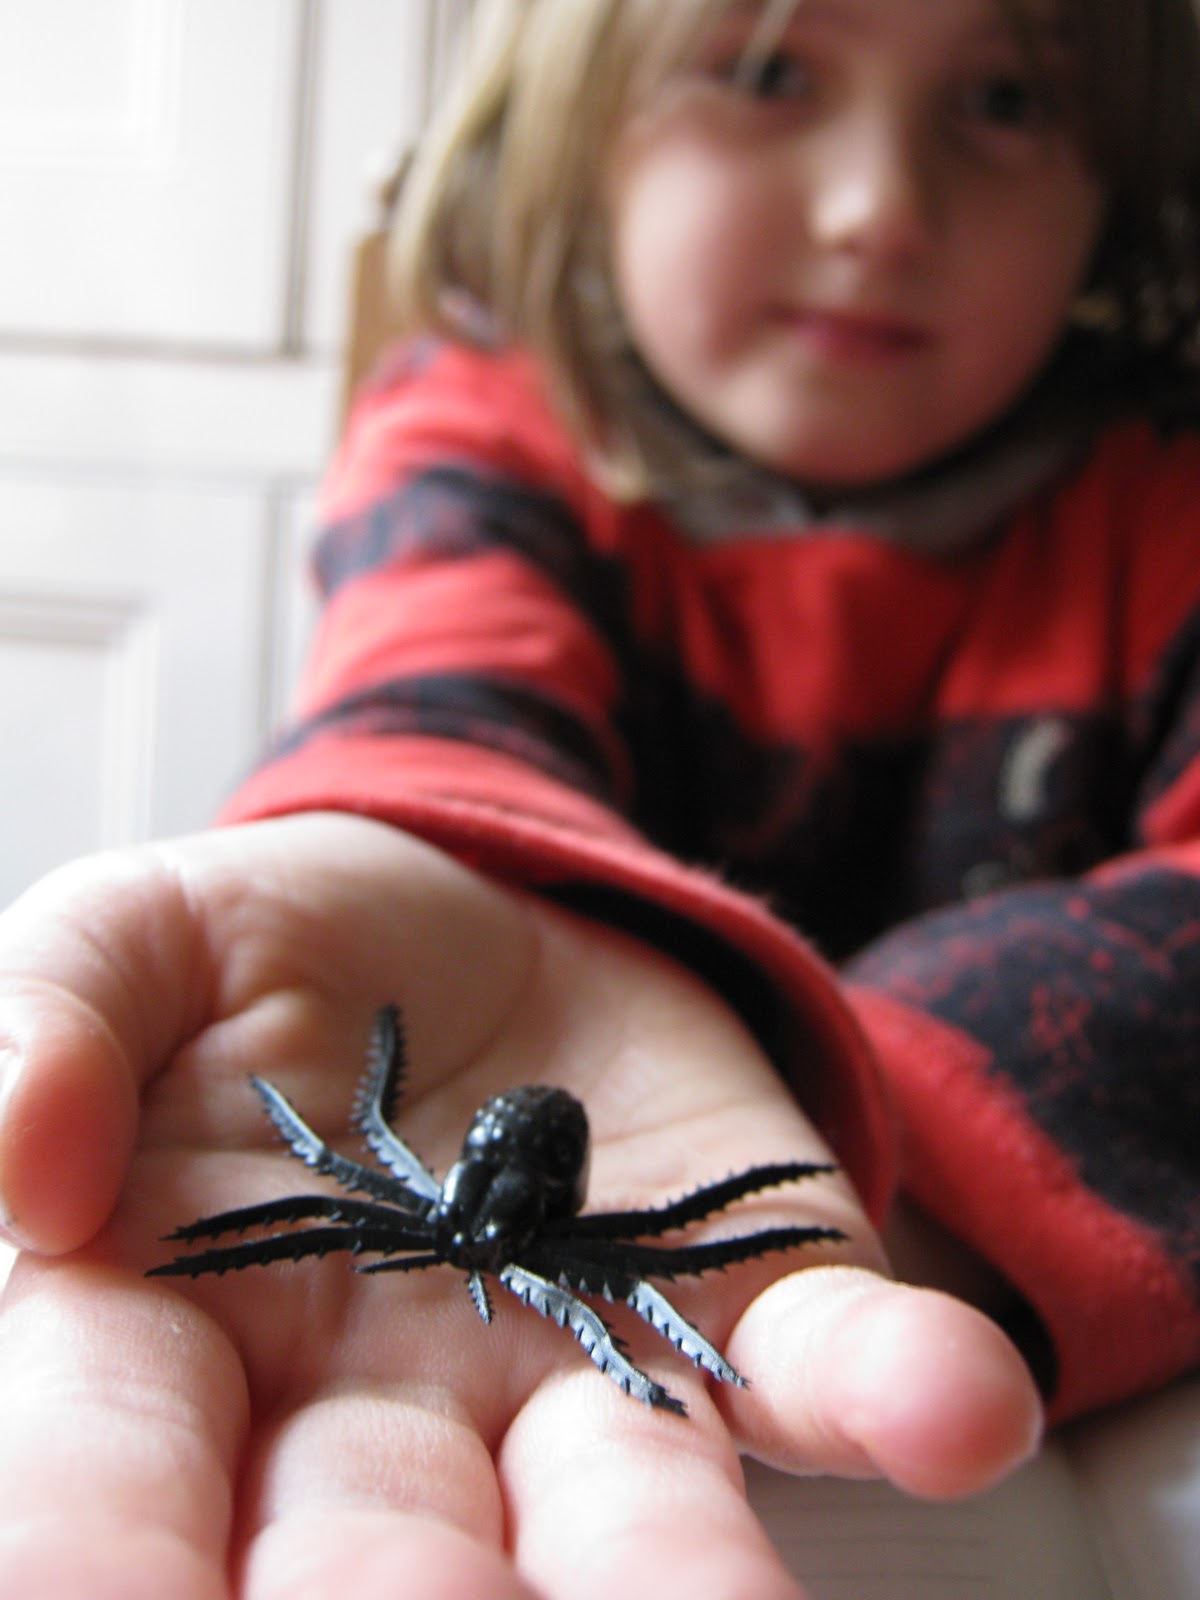
In goes the spider, bigger than a penny we know, but who could resist adding Horace?
In goes the Eiffel Tower, bonus points for writing it down in French
Lists were taken very seriously
Once you've added everything, close the lid tight and give the jar a good shake. If you have very curious children, you can glue the lid shut for obvious reasons.
You are now ready to embark on the hunt. Armed with your list or photo, shake and roll. Items will magically appear on the surface and pressed up against the glass. Strangely, some will pop up every time, others will seldom be seen!
See how long it takes you to find everything on your list, see how many treasures you can find in three minutes, or see who is first to spot the elusive pink paperclip!
So that's the basic treasure hunt, but those of you wishing to crank-up the educational angle, can add treasures with a more pedagogical purpose. 

Other ideas

A wonderful idea came in from mikebfd on Twitter. He suggests adding treasure randomly, in secret, for the children to discover. Thank you Mike, this is a great way to keep the game interesting.  You can also...


Help their reading by making the treasure high-frequency words written on brighly coloured card.

Help with shape recognition by putting in 2D and 3D shapes for them to find and name. 

Use a full set of coins to meet at least one numeracy target.

Get funky, and mix the educational treasure with the fun items, appealing to what you know the children are into, such as tiny action figures or sparkly princess jewellery.

Use plastic animals if you want to increase their natural history knowledge. 

Create a travel version: smaller jars with smaller treasure.

Any other ideas? Let me know with a comment.

If you make your own Jam Jar Treasure Hunt, do let me know how you got on!

UPDATE!


The lovely @michlan and her family have sent me these fantastic photographs of their jam jar hunt, lovely spider guys...


Thursday, 27 May 2010

How to Build a Fairy Garden


It's soon to be half-term in my little corner of England, so I though I'd share with you the secret of making a fairy garden so good that real fairies come and visit it. Oh yes.

First you get your box. A long flat one is ideal.


Then you fill it with mud. Magic Mud of course. The sprinkling of glitter whilst singing 'Come out, Come out, Wherever You Are' is especially necessary at this point.


Then a bit of landscaping. We created a slate pathway and stone table, a bit like Aslan's How in miniature. You can also create two levels, steps, walls and BMX humps for the street fairies.


Then go mad with bits from the Big People's garden. The neighbour's Pom Pom Bush contributed greatly to the flora. We also created a leaf fence at this point, and an oriental fish pond of sorts.


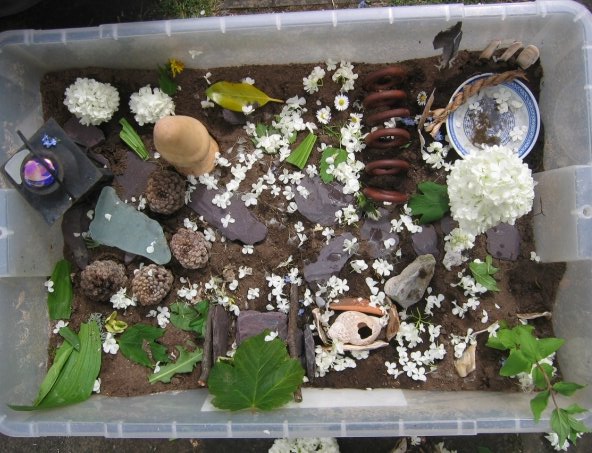
You can see we are getting in the swing of things now. We have a glass table top, up-turned pinecone seating area, daisy garden, curtain ring tunnel, lantern summer house (in case it rains), rope bridge over the pond, razor shell railings to keep baby fairies out of the Deep Water, sea shell hidey hole, skeletal leaf fishing nets and pom pom street light. This photograph was taken after I removed a few hundred white petals (someone had got a bit carried away).

And now some Fairy-Eye Views.


The seating area. Contemporary chic, with glass table top and sculpted wooden seating.


Later that night...

We set up our camera on a tripod, pointing it at the fairy garden. We attached the shutter to a movement detecting burglar alarm sensor. Any visit to the garden by any living thing would set the camera off. Maybe, just maybe, we could catch a fairy in our garden.

The next day we expected to find photographs of hedgehogs, a fox, maybe a badger but NO! 

This is what the camera recorded, no word of a lie...


Yes, real fairies had visited our garden. Ha!


If you make a garden, and take pictures, please send me a link through the Comments form below or via Twitter, I'm @Angpang. 

And if it's a rainy half-term, you could always try our indoor adventure, Making Gormley's The Field in a Shoe Box.

Tuesday, 24 November 2009

When we were Five...

There is lots of beaches at Wales,
They are fun.
There is lots of jellyfish.
It’s very sandy.
There is lots of seaweed.
I run through the waves every time I go.
The waves are giant.
We saw a big crab,
It only had three legs.
I found it.
We made a sand lake.
Mummy made a spiral.
We stuck our feet in some bubbles.
I found a lot of razor shells.
We went in a cave,
It was dark.

A little explanation: I was talking to my 5 year old daughter about poems yesterday. She wanted to write one. I asked her to think of a special day and tell me about it to make the poem. These are the words that came from her mouth. No editing, shuffling or additions by me. The photo shows her on the day she is talking about.

Friday, 4 September 2009

Gormley's Field in a Shoe Box

I do love Anthony Gormley's Field for the British Isles.

I think I first spotted it in The Independent when it was unveiled back in 1991, and spent a long time staring at the photographs of it in poor quality newsprint, clear proof I needed to see it for real.

If you don't know it, I suggest you put it into Google Images and have a real good look, but if you're in a hurry here's the jist. It's a sculpture: 35,000 small, unglazed terracotta figures packed tightly together in a huge space. More that you can count, many disappearing out of view, all staring at one point: the small doorway you are standing in. A few – stargazers – stare upwards. It can be set-up in any large room, and has indeed toured the UK and the globe. If you get chance, go and see it.

Field for the British Isles gets you in a lot of ways.

Firstly, biologically, because you cannot help but perceive those lumps with two holes at the top as faces, bodies, heads, eyes and personalities. Spend long enough with them and you'll be picking out the lovers, family groups, gangs, loners and elderly among them.

And what’s more, they’re a huge crowd, which gets you psychologically. It makes your hairs stand on end. Crowds do not gather lightly, there has to be spectacle, protest, exodus, battle. A crowd that big suggests world changing events, or at least an event the world sits down to watch.

But wait: this crowd are all staring at you. Silently. We’ve all been unnerved by a portrait watching us as we walk across the room, and Field multiplies that feeling by 35, 000.

Is this what it feels like to be a monarch, rock star, messiah, dictator? Do you feel scared? Humbled? Are you looking behind you to check for Elvis? Or do you find yourself thinking home at last?

And answer me this: If one of the figures at the front waddles towards you, tugs your sleeve, and ask a question, what is that question?

For me it's: Why did you use so many plastic bags?

Whatever your question is, I'll bet it reveals some inner obsessions.

And aside from the Field's bio-psycho-social mojo, my sister, Louise, was one of the volunteers that set the little figures up when it was displayed at The British Museum a few years ago, so now it’s not a major work of art, it's part of the family.

I finally got to see the Field at Lincoln’s Usher Gallery in 2003. I recall the comments book in which one disgruntled visitor vented: “I have travelled 30 miles to look at the paintings of Peter De Wint only to find I cannot get in to see them because this pile of rubbish is here”.

Now for The Field in a Shoe Box...

So this summer holiday I decided it was time to introduce my kids to the Field through the medium of a shoe box and modelling clay. Here’s what we did.

Total spend £1.98 on two packs of modelling clay (the stuff that does not dry out) and an adult sized shoe box. We got our clay from The Works for 99p, woot!


We cut the clay into tubes about one inch long, each a blank waiting to be moulded into a little figure. My sister told me the terracotta figures were called Gorms, a term we happily adopted for our sculptures. In this raw state we called them Gormless.


Using fingers and thumbs, we squashed the tube into head and shoulders plus a flat bottom, so it would stand up.


We used a cocktail stick to make the eyes. Some were evil slanted eyes, others big round goblin eyes.


Our first Gorms waiting to be put in the shoe box. Note Ruby's alien Gorms with several eyes, and Emelia's super tall ones with Dr Seuss wobbly grins. It does take a while to do all the Gorms, so the more hands you can get involved, the better.


We cut a letterbox style hole in one end of the shoe box. A crucial part of the real Field is you are only allowed to look at the Gorms from one viewpoint. This is ours.


We positioned the Gorms in the box, facing the hole. You have to press them down quite a bit to get them to stick, so all our Gorms ended-up with quite fat bottoms. We decided to mix all the colours together rather than segregate. Dad joined in at this point. Perhaps, like barbecues, Gorm planting is a Dad thing.

We then cut a large window in the shoe box lid to let the light in. You can cut round holes to make spot lights, or a big square hole covered in tracing paper for big, diffused light.


We looked through the hole, and this is what we saw.


And what did the kids think? Well we had a happy hour making the thing and all the whole family got involved, so smug-parent points earned there, I think. They loved the little Gorms like the colourful little munchkins they are, and soon made mummy and daddy Gorms and lots of little kiddie Gorms (which may be hard to see in the picture, but they are there).

They have also showed Field in a Shoe Box to every visitor that has come to the house since, and have told everyone that Aunty Lou Lou made the real one (sorry about that, Anthony).

So, as you can see, it's very easy to do. So have a go. And let me see the photos, too!